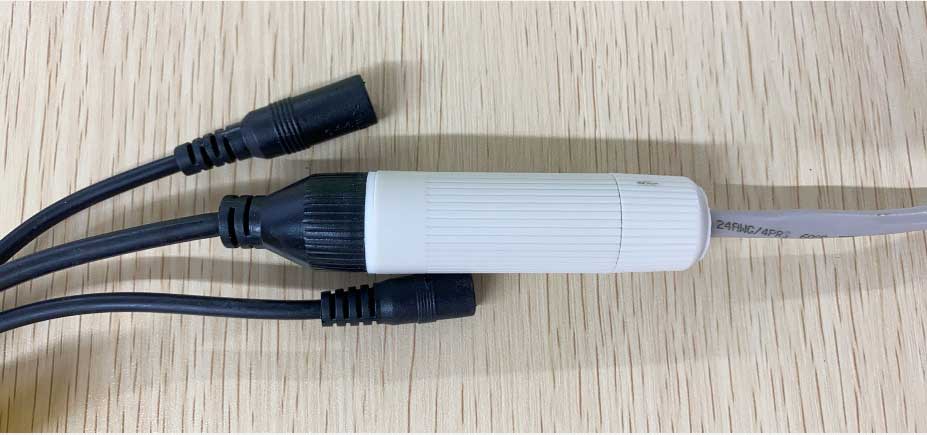
How to Install the Waterproof Lid
Applies to: All PoE IP cameras.
Step 1. Separate all the parts of waterproof lid.

Step 2. Thread the Ethernet cable through the waterproof lid.

Step 3. Push the Rubber ring(Part 3) to the main body(Part 2).

Step 4. Install the white rubber band (Part 1) to RJ45 connector.

Step 5. Plug the ethernet cable into RJ45 connector.

Step 6. Combine all parts. Done!

Reolink provides a waterproof lid for Reolink PoE IP cameras inside the product box. You may follow the steps below to install the waterproof lid to protect the joint of your camera and the Ethernet cable.
Here is a video for your reference:
Step 1. Prepare an Ethernet cable without Ethernet crystal head.

Step 2. Thread the Ethernet cable through the waterproof lid.

Step 3. Install the Ethernet crystal head (RJ45) to the Ethernet cable with a crimping tool.

Step 4. Plug the Ethernet crystal head into the network socket of the Reolink PoE IP camera and then close the waterproof lid.


hi how can i do
I really love you
I really love you
I sent an e-mail from the communication channel. Can you help?
I am having trouble with the installation
I really love you