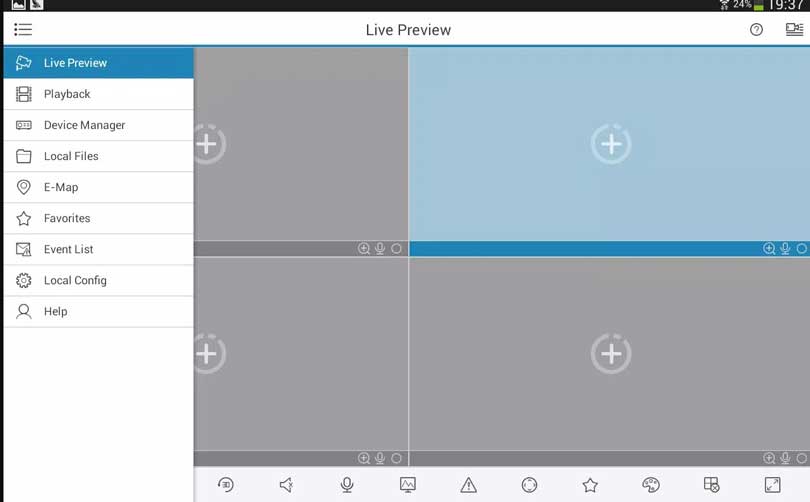
How To Setup A DVR/NVR On The Amcrest View Pro App
The following article will demonstrate how to setup your Amcrest DVR/NVR in the Amcrest View Pro app using a P2P (Peer to Peer) method. For more information on how to perform this action please refer to the information provided below.
Load more : Free CCTV Camera Software Top 25
Step 1: Ensure the DVR or NVR is powered on and is connected to the same network segment as your mobile device.
Step 2: If you haven’t already, download the Amcrest View Pro app on the app store or Google Play store. Once downloaded, open the app and tap on Start to begin.
Step 3: Tap on DVR/NVR.
Step 4: Tap on P2P Connection.
Step 6: Scan the QR code. The QR code can be found on the serial tag along with the scannable barcode.

If the QR code is not able to scan you can also enter in the serial number manually.
Step 7: Create a name for the device and enter a username and password. The default username and password will be admin. Tap “Start Live View”.
Step 8: Update the default password for the device and tap “Start Live View” to access the device in the app.


my recorder is not working
can you help me please
It really worked, I appreciate it!
I can’t upload
It was a great sharing
I really love you
I am having trouble with the installation