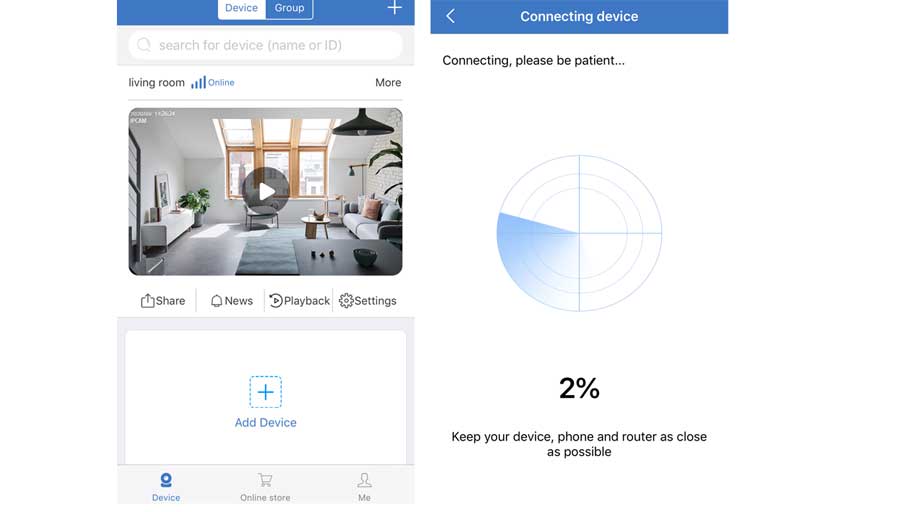
How to Add the Standalone IP Camera to the Sannce Sight?
Step 1. Search for Sannce Sight on App Store (for iPhone) or Google Play (for Android smartphones) and download this app.
Step 2. Launch the app and click Register.
Step 3. Enter your email and click Confirm. Pleaase follow the prompts to finish the register and then log into your account.
Step 4. Click Add Device icon to add the camera.
Step 5. Select Standalone camera.
Step 6. Please confirm the camera has been powered on properly. Click Next in the app and then use your phone to scan the camera’s QR code.
Step 7. After the scan succeeded, click Add. Follow the prompts in the app to enable your phone to connect the camera’s hotspot, and then return to the app.
Note: If you cannot find the camera’s hotspot, please reset the camera and try again.
Step 8. Enter the WiFi password and then click Connecting device. The app will pair with the WiFi automatically and connect to the network. After WiFi connection succeeded, you will hear the prompt tone The wireless connection is successful.
Note: Please make sure your WiFi network has enabled DHCP and has been adjusted to 2.4 GHz (the camera supports 2.4 GHz WiFi instead of 5 GHz). The encryption mode of WiFi should be set up as WPA or WPA2, and the password and WiFi name should not contain special characters.
Step 9. Enter the camera’s name and password to access the camera for instant live stream now.

my recorder is not working
hi how can i do
It was a great sharing
I really love you
problem not solved thanks